Sunday, August 3, 2014

Take A Look At What's New In My Classroom!

 I always tell myself at the end of the school year that I am not going to completely redo my classroom and spend countless hours and days getting it ready. Every summer it never fails that I do just that. Well, that was until this summer. I absolutely loved everything that I already put in my classroom and knew that I just had a few minor decorations to add. (Click here and here to see all the things I did last summer in my classroom!)

One of the biggest items on my list was figuring out what to put on one of my bulletin boards. I wanted it to be more than just a space filled with reading or literature posters. I knew that I wanted it to be something to pique my students' interest and get them curious about reading, but how? Then an idea came to me. What if I picked quotes from my favorite novels and turned them into works of art? While I am definitely not the best artist and this turned into being a truly challenging task, I have to say that I am extremely happy with the outcome.


Harry Potter
The Fault in Our Stars


Mockingjay
Heroes of Olympus Series


Divergent

I didn't like the space so I decided that I needed to add at least two more paintings.


If I Stay
Combining books and Doctor Who :)


The finished product :)

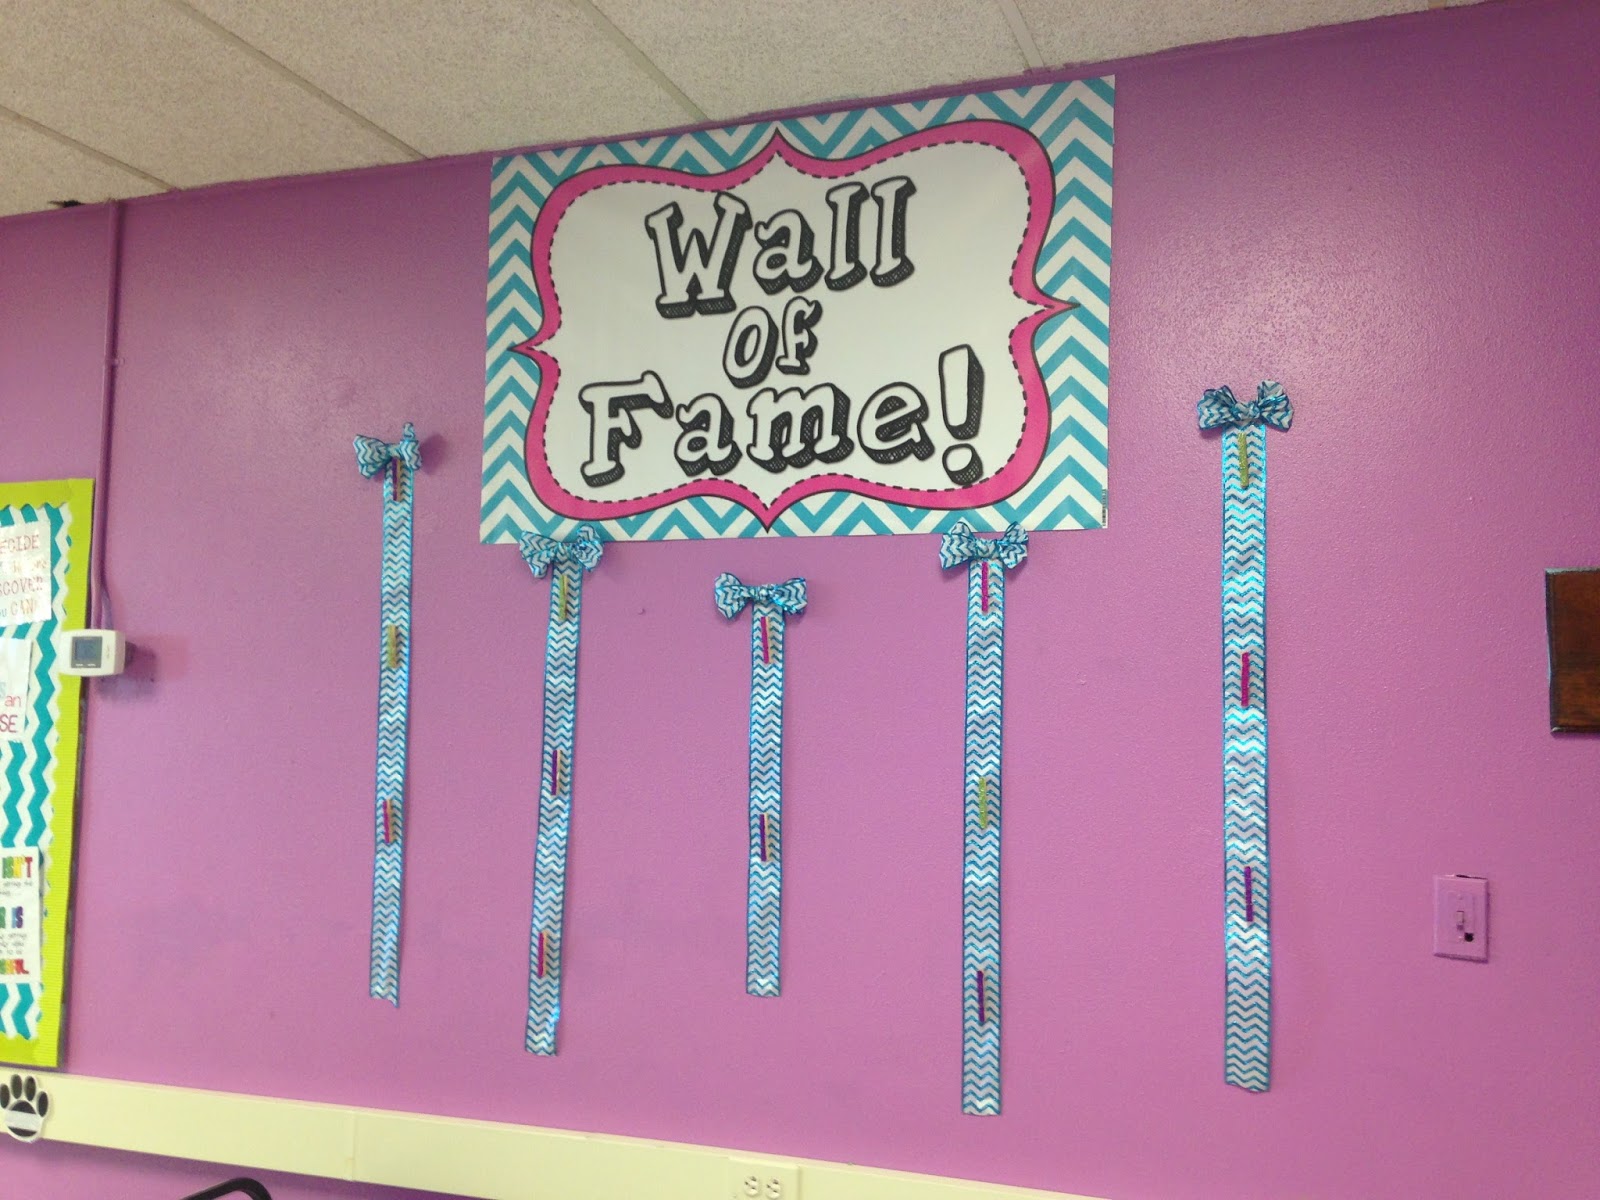
Then of course, there were the Pinterest projects (Reach for Success and Wall of Champions) that I saw and knew that I had to include in my classroom:


I saw this and decided to modify it to fit my students.


Students who score well on assessments and who show growth will be able to showcase their accomplishments here.


In addition, it was time to update my "Wall of Wisdom" with some new posters and a special classroom expectations poster that I designed:


Speaking of expectations, I also updated my computer expectations after a full year of being 1:1 to address some of the biggest issues that we had last school year. 


One of the last things that I worked on was revamping some of the organizational structures that I use in my classroom so that they would be ready to go for the first days of school. These structures are such an important part of ensuring that I do not lose instructional time during transitions and allow my students to know exactly where things are located.

I have this set up for each of my classes. The pink baskets hold their SSR books, the large bins are for their data folders, and the folder box contains their SSR reading logs. Each class has a different color system.

I use the laptop signs to let my students know how we are using laptops during class today. This allows students to know what to do with their laptops as soon as they sit down. Click here to get your own!

I have one bucket of supplies per two students.

The buckets contain markers, colors, color pencils, glue sticks, and scissors.

I created this labels to go inside our highlighter boxes.

I supply these highlighters so that my students are able to use them to closely read the text.

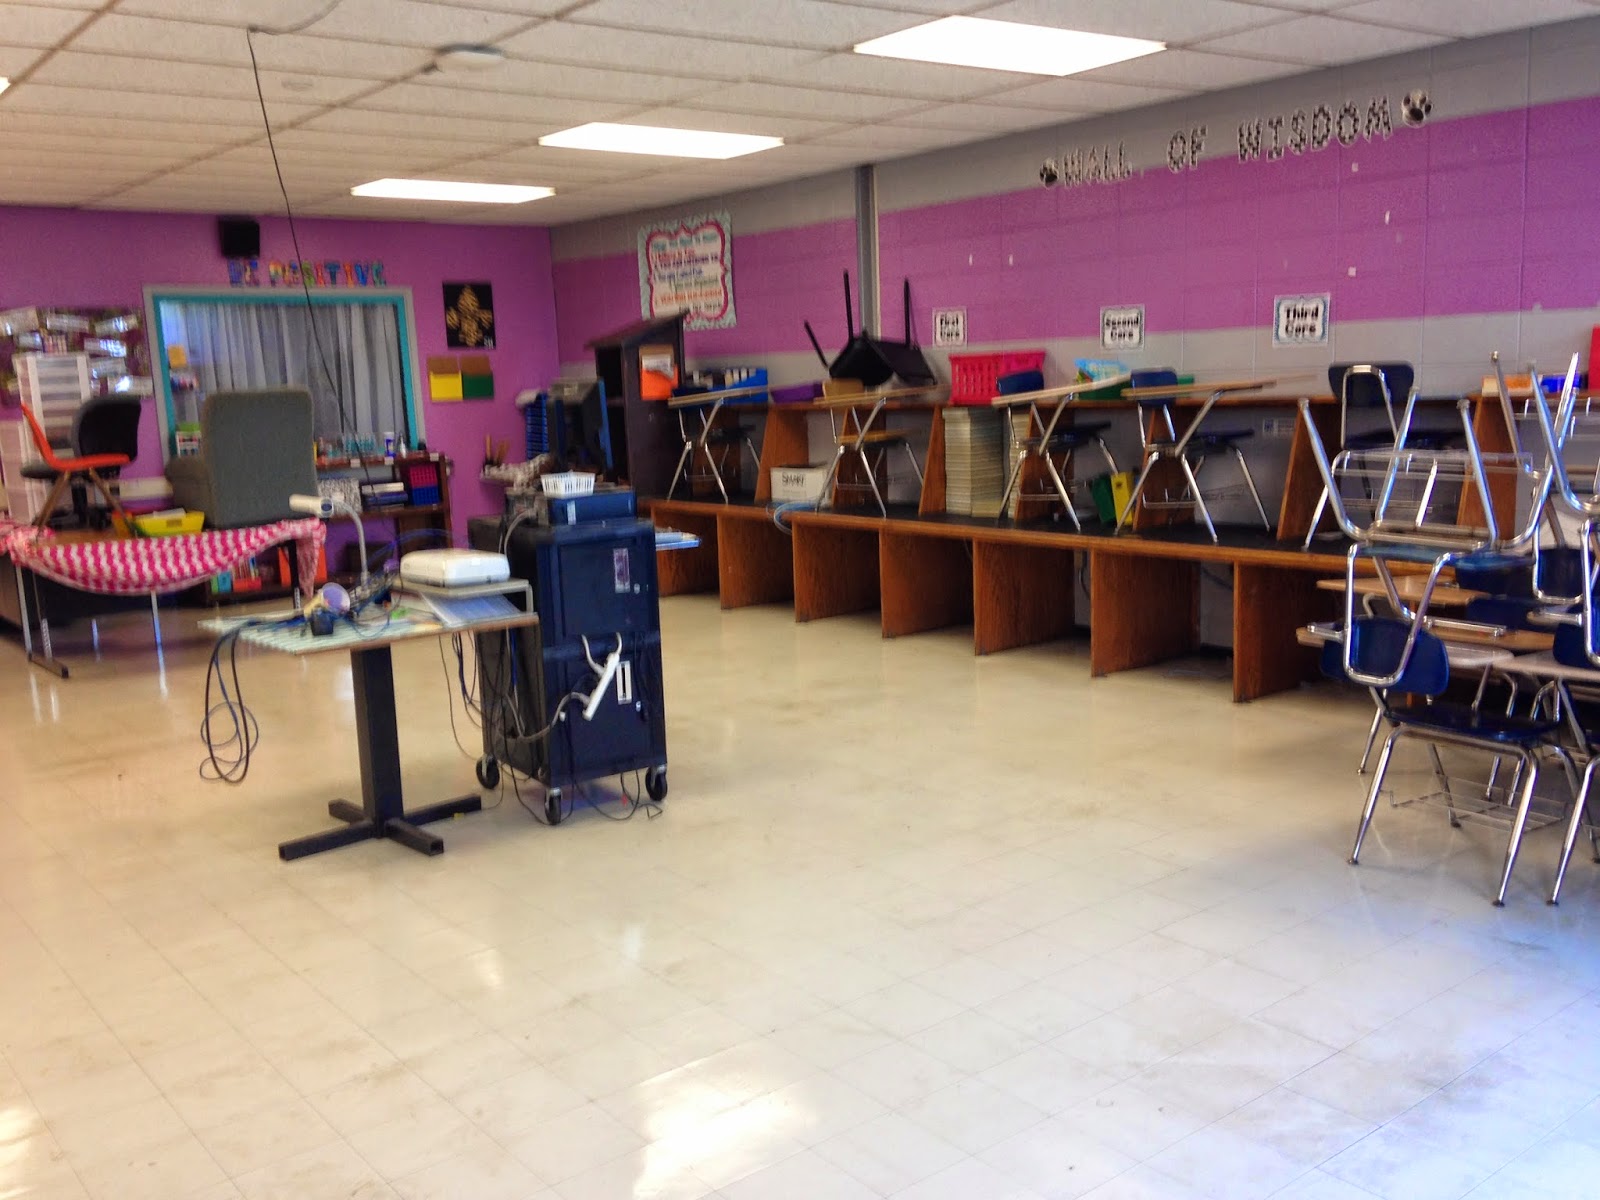
Here is what my room looked like when I first walked into it this summer:


Here is what it looked like after: 


It's hard to believe that another summer has come and gone so quickly; however, I am truly excited about what this new school year will bring.

Enjoy the rest of your summer,

Tuesday, July 8, 2014

Student Goal Setting and Data Tracking Transformed My Classroom

One of the biggest pushes in education today is letting students take control of tracking their own data and setting their own goals. To many teachers this task may be overwhelming and leave you trying to figure out the easiest way to implement this in your classroom. I know that is the challenge I was facing last summer. I had TONS of great ideas, but creating a manageable system that could work in a real world classroom seemed challenging. I started brainstorming on other organization systems I've used in my classroom before and researching on the Internet. 

In previous years, my students have kept folder portfolios that contain the majority of their work they completed during the school year. It was a very easy way for them to see their progress and a great tool to bring to parent conferences. I began to think that transforming that portfolio into a student data folder was going to be my best option, but what was that going to look like? What did it need to include? How would I make it simple and easy for my students? 

I decided to approach these questions and my task like I do when I create lessons for my classroom. The first thing I always do is identify the purpose or need and the WHY behind it. My purpose was simple to create an easy goal setting and tracking system for my students to take control of their learning.   The second step was to define what that would look like. I created a list of the things that I thought needed to be included:
  1. Long term goal (the entire school year)
  2. Short term goals (monthly, quarterly, weekly?)
  3. Goal reflections
  4. Tracking Charts (bar graphs, tables, charts, etc.)
Once I had identified my purpose for the student data folders and what should be included, I worked like a madwoman to create graphic organizers, test reflections, tracking charts, bar graphs, and more. My desire to get things right led to many long hours and sleepless nights. There were so many redesigns and complete overhauls before I was finally satisfied with the final product. It covered every area of goal setting and data tracking in a student-friendly way. I was so sure of this product's success that I decided to put it for sale in my TPT store.  I watched in awe as it rose to the second best seller in my entire store and received rave reviews.

In my own classroom, it was working well, but there was still a need for more. My students did a great job at setting their monthly goals and creating actions plans to achieve them. I would proudly show them off and give myself a pat on the back for a job well done. I had these beautiful student data folders and my students were setting goals left and right, but were they really understanding the WHY behind what we were doing or just going through the motions to complete another task? The simple answer is no. They didn't understand the WHY or see the bigger picture. 


Sure we tracked their pre and post benchmark scores, but there was nothing in place for the in between. My students were growing and I could see that in the quality of their work, but I knew that many of them could not. Things had to change and they did. In January, my partner teacher and I decided that the easiest way to assess student progress and have students also track their progress was through the use of weekly assessments. Each assessment would be based on the text we were reading that week in class. It contained four multiple choice questions with an answer justification required and a constructed response question. Students would take their weekly assessments on Friday. During the first ten minutes of class on Mondays, we would pass out data folders and students would record their scores. This became the new normal in our classroom. Students would also set mini goals based on their scores. For some, it was to increase their overall score. For others, it was to bring up their constructed response score from a 2 to a 3. 


Grade sheet from Quarter 3
Grade sheet from Quarter 1


It was rocky at first and some students were hesitant to set goals for themselves, but do you know what happened next? Students began to grow each week. Students began to smile each time they got back an assessment and recorded it in their data folders. Students would stop me as I walking around the classroom and say with a big smile, "Look how much I grew, Mrs. Harpole." I was simply amazed by the transformation I saw in some students; however, there were still students who were too focused on a letter grade or proficiency label to notice that they were still growing. I had students going from 1/12 to a 5/12 that did not believe they were growing because the letter grade still said F. During Quarter 4, we wanted to eliminate this problem so we stopped putting letter grades on the weekly assessments and told the students WHY we decided to do this. This also included goal setting. My students set goals during Quarter Four that did not contain letter grades or words like "basic" and "unsatisfactory". We focused on numbers only. I wish this was something we would have focused on from the beginning because I can only imagine how much more my students would have grown. 

I sat down at the beginning of the summer and revamped my student data folders. With a year's experience of using the data folders under my belt, there were several revisions and additions that I needed to work on. I am determined to use the lessons I learned from my classroom last year to begin this year on the right foot. My confidence level is much higher than it was this time last summer and I can only imagine the possibilities that this year will hold.


If you are interested in this product, you can click here to check it out on TPT. Here's a sneak peek of just a few of the pages available in this year's student data folders:

All you need is a folder, hole punch, pages from my product, and sheet protectors to hold student work to create the data folders.


This can be the first page in a students folder or it can be glued to the front of the folder.


The three different sections available.


You can add a page protector behind these pages so that students can put their assessments and others in their folders.


Students can keep track of their self assessments using this weekly reflection sheet.


Until next time,


Saturday, June 28, 2014

Quick, Creative, and Easy- 1:1 Classroom Organization Tool

Last school year, our 6th grade teams were the first on campus to participate in the 1:1 program. Needless to say, it was a year of firsts that included many obstacles to overcome and TONS of success. Just like with everything else that goes on in your classroom that needs routines and procedures being 1:1 is not an exception.  I can remember at the beginning of several classes throughout the year constantly repeating, "After you fill out your agenda, take out your laptop and get ready to begin" or "Don't take your laptop out yet. We won't need it until later in the class".  I definitely needed a better way to communicate to my students about the use of laptops at the beginning of class, but it was just one of those things that got pushed to the back burner. 

I knew that I needed to figure something out before the new school year began, but honestly I still wasn't sure what it was going to look like. Thankfully, our new Master Teacher at our school shared an idea from a teacher at her old school. This teacher used a nonverbal color code system with students that let them know what laptop use would look like in class each day. As soon as I heard it, the wheels in my head started turning and I immediately began imagining what that would look like in my own classroom. So of course, I had to pay it forward and share this brilliant and simple idea with you!

Here's what you will need:

Scissors
Binder Ring
Velcro Dots or Strips
Hole Punch
Laminator (Optional-if you want to laminate your circles)


Step by Step Instructions:

After printing out the handouts, cut out your circles.

Use a hole punch to create a hole at the top of each circle. Be sure that your circle is located in the same spot on each circle.

I would recommend laminating your circles so that they are durable and will last the entire school year.

Cut the excess lamination off your circles. Use the hole punch again to open up your original hole at the top of the circles.

Use a binder clip to secure all of your circles.

Add your Velcro dots or strips to the back of each circle. If using Velcro dots, I would recommend using more than 1. I ended up putting three on the back of each circle.

Here's what the finished product will look like. I plan on installing this on the whiteboard in the front of my classroom.

This will easily allow students to know what computer use will look like at the beginning of class and save you from having to repeat the same instructions each class period.

It took me five minutes to complete this project from start to finish. Sometimes the simplest ideas are the best ones! I cannot wait to implement this into my classroom next school year and see how it goes. 

Until next time, happy crafting! :)


Tuesday, June 17, 2014

More Than Meets the Eye

If you are like me, you have read your fair share of articles that bash teachers and continually paints all teachers in a negative light. It gets so frustrating because I know that these assumptions do not describe me or the majority of the amazing teachers that I have had the privilege of working alongside over the past six years. While there will always be ineffective educators and leaders in education, the same can be said about every profession. 

That's why it was so refreshing to read "What You See in Today's Public School Classroom is a Mirage" from The Huffington Post. It was almost like Carla Friesen had been in my classroom and knew my story. As I read, I could only shake my head or put a check mark next to another example that she used in her article because it described something that has just become a normal occurrence to me. I don't even want to try to calculate how much money I have spent on my classroom and simple classroom supplies, like pencils or erasers. Is it required of me? No, it's not; however, there is no way that I could run an effective classroom without being able to provide the basic necessities to my students. 

While I was extremely lucky to have a large classroom and tons of technology, that didn't make up for the gray walls and uninviting space. I knew that I needed to brighten up the space and create that welcoming environment for my students. It's taken me years to create and finetune that colorful and inviting learning environment. Again, I didn't have to do this or spend countless hours and dollars on my classroom, but there was never another option for me.


This is what my classroom looked like before I began to put my time, money, and effort into it.


Four years in and still working on creating a bright and welcoming classroom.


My sixth year marked the biggest improvements to creating a warm and encouraging learning environment.

I purchased all the school supplies that you can see in this photo.
I want my students to have the best learning experience possible in my classroom. I want my students to feel welcomed and safe in my classroom. I want my students to only have to worry about thinking critically, collaborating with classmates, and challenging themselves during our lessons. Ensuring that these things happen each and every day takes hard work on my part-physically, mentally, and financially. It is a price I am happy to pay because there are few things in life more rewarding than seeing my students grow and experience success.

How do you go above and beyond to create inviting and engaging learning experiences in your classroom for students?


Saturday, June 14, 2014

Classroom Decorations on a Budget

If you are like me, you're always looking for some way to brighten up your classroom that won't cost you a fortune. That's a big problem for any teacher who happens to browse classroom decorations on Etsy or other online shops. The moment I saw personalized chalkboard signs I fell in love and knew that I wanted to incorporate them into my classroom; however, they can be quite expensive. 

I decided to sit down Thursday night and try to create my own chalkboard classroom rules poster. It took a lot of time to track down the right fonts, decide my color scheme, and develop what I wanted my classroom rules to be. There were quite a few times where I questioned whether this work was necessary and debated about just buying a chalkboard sign from Etsy, but I'm glad that I continued to work on my sign because I absolutely LOVE how it turned out.


I shared my poster on my Facebook page, The Creative Classroom, and the response was overwhelming. I decided to share a non-personalized classroom rules poster as my Facebook Fan Freebie. Again, I got positive reviews and praise from many of my followers. I definitely was not expecting such a huge response from this poster, but it is very much appreciated.


Ordering Information:


If you would like your own personalized classroom rules digital image, please download and complete this order form. Email me your order form at mrsharpole@gmail.com. The cost of the digital file (300 dpi PNG image) is $5.00. Once I receive your email and the required information, I will begin to create your digital image. A proof will be sent to you so that you can okay the final product. After you okay the proof and send payment through PayPal, I will send you the final product.

You can then print your image at home, a local print shop, or at an online service. I used Vistaprint to print my poster. I would recommend the medium sized poster if you are using Vistaprint.

Classroom Rules Order Form

Summer is Here! TPT Sale

I've joined together with some fabulous TPT Secondary Sellers to host a TPT sale this weekend. You can save 20% off all products in my store until Monday and up to 20% off in the other stores listed below.

Danielle Knight
 http://www.teacherspayteachers.com/Store/Danielle-Knight

Juggling ELA
 http://www.teacherspayteachers.com/Store/Juggling-Ela

The SuperHERO Teacher
http://www.teacherspayteachers.com/Store/The-Superhero-Teacher

The Creative Classroom
 http://www.teacherspayteachers.com/Store/The-Creative-Classroom

Teaching High School Math
http://www.teacherspayteachers.com/Store/Teaching-High-School-Math

James Whitaker
http://www.teacherspayteachers.com/Store/James-Whitaker

The Classroom Sparrow
http://www.teacherspayteachers.com/Store/The-Classroom-Sparrow

2 Peas and a Dog
http://www.teacherspayteachers.com/Store/2peasandadog

Created by Mr. Hughes
http://www.teacherspayteachers.com/Store/Created-By-Mrhughes

Making it as a Middle School Teacher
http://www.teacherspayteachers.com/Store/Making-It-Teacher

Jean Adams
 http://www.teacherspayteachers.com/Store/Jean-Adams

Ruth S.
http://www.teacherspayteachers.com/Store/Ruth-S

From Chopsticks to Mason Jars 
http://www.teacherspayteachers.com/Store/From-Chopsticks-To-Mason-Jars

A Space to Create
http://www.teacherspayteachers.com/Store/A-Space-To-Create

The Math Post
http://www.teacherspayteachers.com/Store/The-Math-Post


Stay tuned for lots of exciting and creative things from my classroom to yours!


Saturday, May 31, 2014

Surviving the End of the School Year!


Thanks for joining our end of the school year blog hop today. Over twenty teacher bloggers got together to celebrate the end of the school year with you by donating a product to the Surviving the Chaos blog hop bundle. You can access the entry form at www.2peasandadog.com to help keep you organized as you hop over to each blog to obtain the secret letter. Then fill out the Google form at the end to get your product bundle. Happy Hopping!

Wow! Does it seem like this year just started and you are frantically trying to wrap everything up? I know that is how I felt. The stress to get all the end of year things done and celebrate the year with my students was a struggle. So how do you do all of this without going crazy? I created a checklist of all my tasks that needed to be completed and decided to break them up over the last two weeks of school. By focusing on a smaller amount of tasks each day, it made that long to-do list less intimidating and overwhelming. This helped me to get things done, reduce my stress level, and enjoy the time I had left with my students!