Well, today was the first official day back for teachers in my district. Our students return this Wednesday so I guess it's a good thing that I can FINALLY say that my classroom is in order and LOOKS like a real classroom again! It's taken so much longer than I had anticipated and it seemed like each time I completed a task that two more popped up. Now that all of the setting up is done, I am so excited to share the finished product with you.
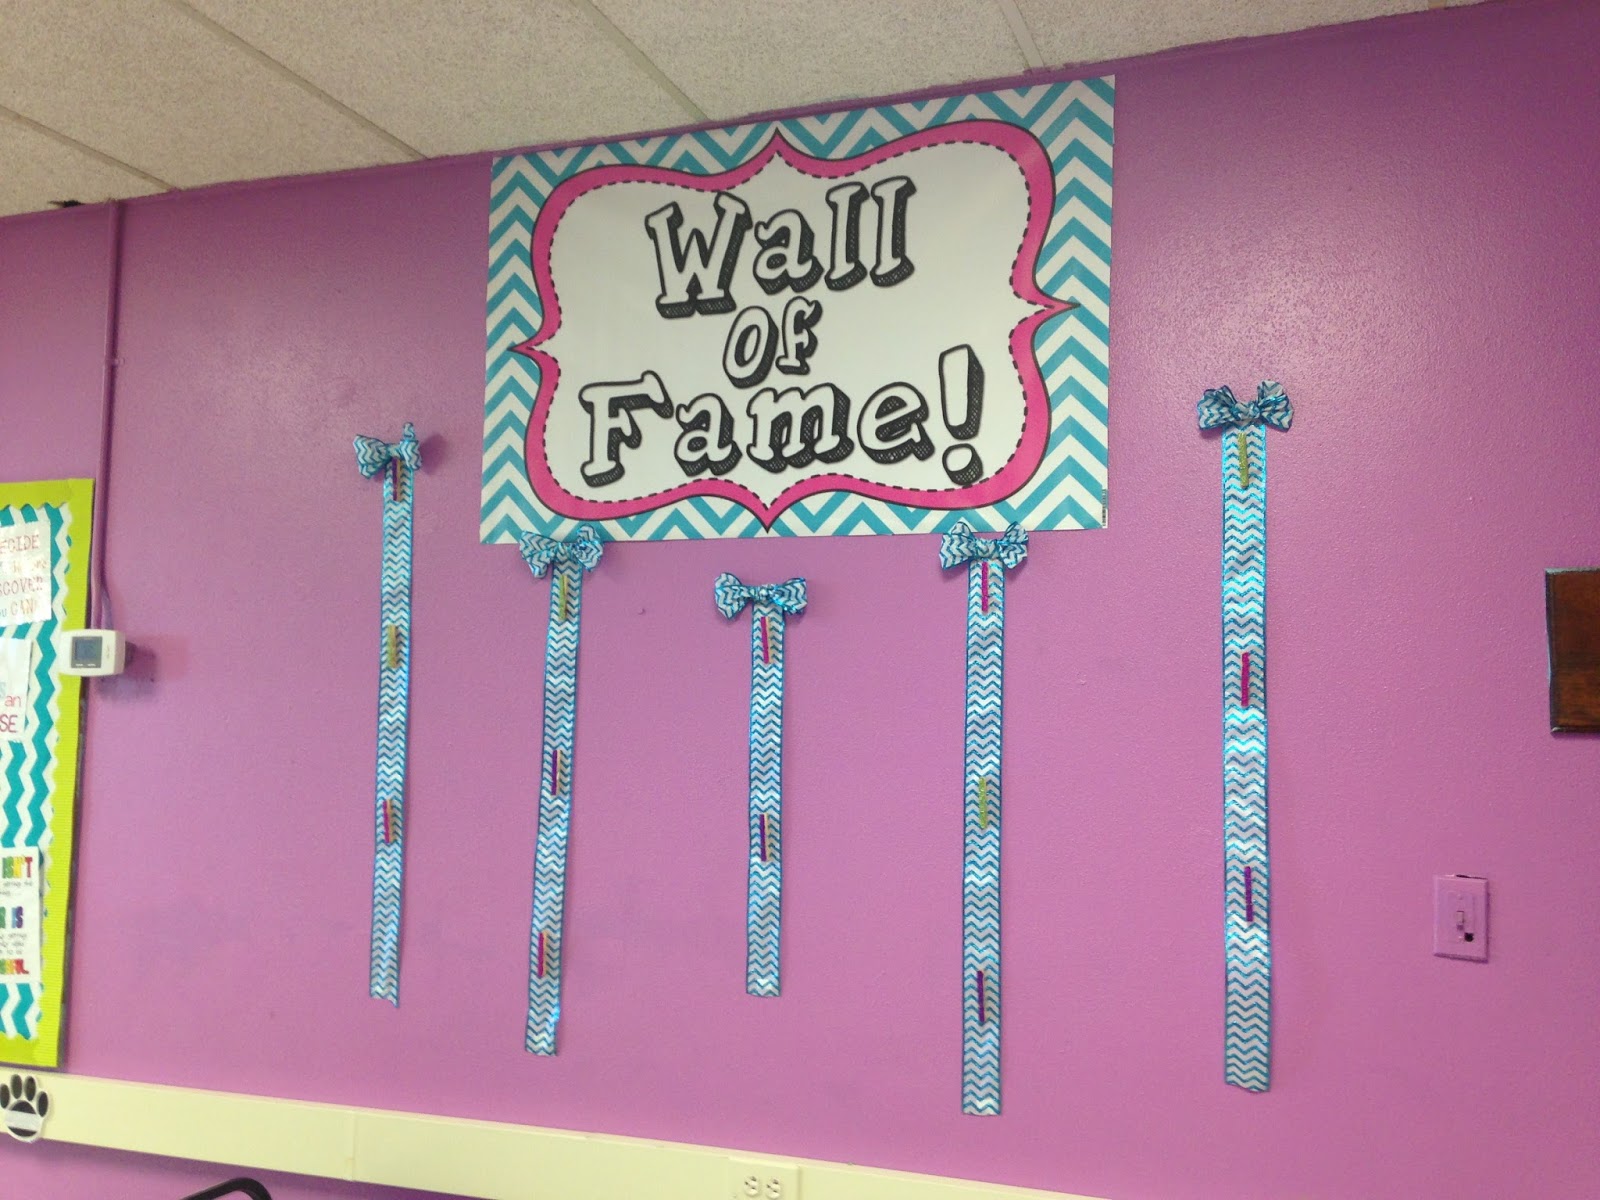
One of the biggest projects to undertake was creating my Wall of Fame in my classroom. I am so excited with how it turned out. This is one of the few times that something looks exactly like I pictured it in my mind. I designed the banner using Keynote on my Macbook and then had it made on Vistaprint. I bought chevron ribbon from Hobby Lobby and decorated the clothespins myself. There is glitter EVERYWHERE! It looks amazing and I can't wait to start displaying student work here!
 |
| I ran out of glue so I used spray adhesive instead....I am still finding glitter in my kitchen! |
 |
| I cut the ribbon different lengths so that I wouldn't run out. My mom was nice enough to tie the bows for me. |
 |
| I used a glue gun to attach the glitter clothespins to the ribbons. |
 |
| A finished ribbon! |
 |
| It turned out exactly like I pictured it. I am so EXCITED! |
After completing the Wall of Fame, I started to create some extra bulletin board space in my classroom and hallway using Azure Blue paper and multi-colored chevron duct tape. It is the cheapest and easiest way to create new display space in your classroom. All I did was staple the paper to the wall and podium and then outline the paper using the duct tape.
 |
| Trying to brighten up my hallway. |
 |
| I'm going to use this bulletin board to display my hallway expectations. |
 |
| This is the front of my podium. |
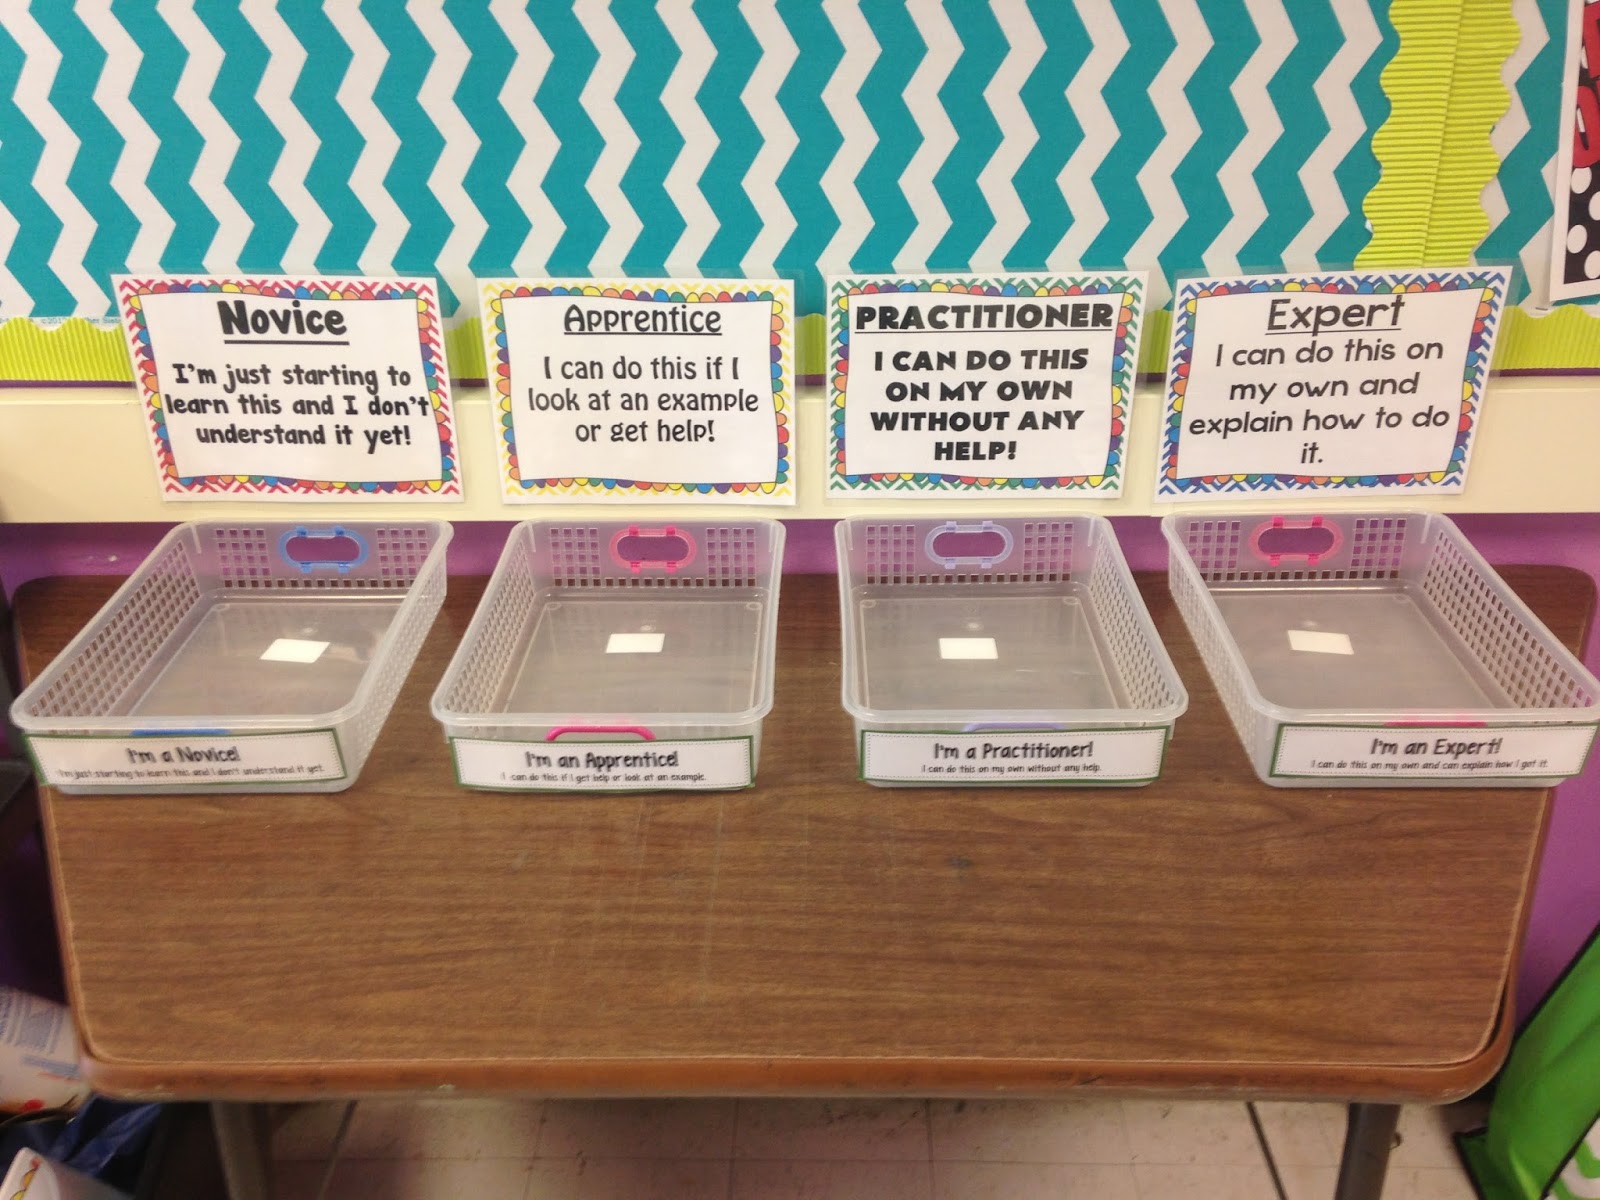
Another important area of my classroom is my self-assessment table. I do not pick up papers at the end of my class. Instead I have students self-assess their learning from that class period and turn in their work in designated baskets. I use a ranking system of Novice, Apprentice, Practitioner, and Expert in my classroom. It is probably one of my favorite things that I instituted in my classroom last year. I worked over the summer to revamp my system and decided to upload the finished product to my store.
Click here to check out this amazing self-assessment system for your students!
After finishing the self-assessment table, it was time to set up and decorate the back walls of my classroom. I call this space my Wall of Wisdom. Usually the Wall of Wisdom only contains posters that I have bought from our local school store, but this year thanks to Vistaprint I was able to create one of my own.
 |
| A few of my favorite pieces of advice to share with my students. |
 |
| This is the banner that I designed. I also got this design in business card size so that I can staple it inside each of my student's agenda. |
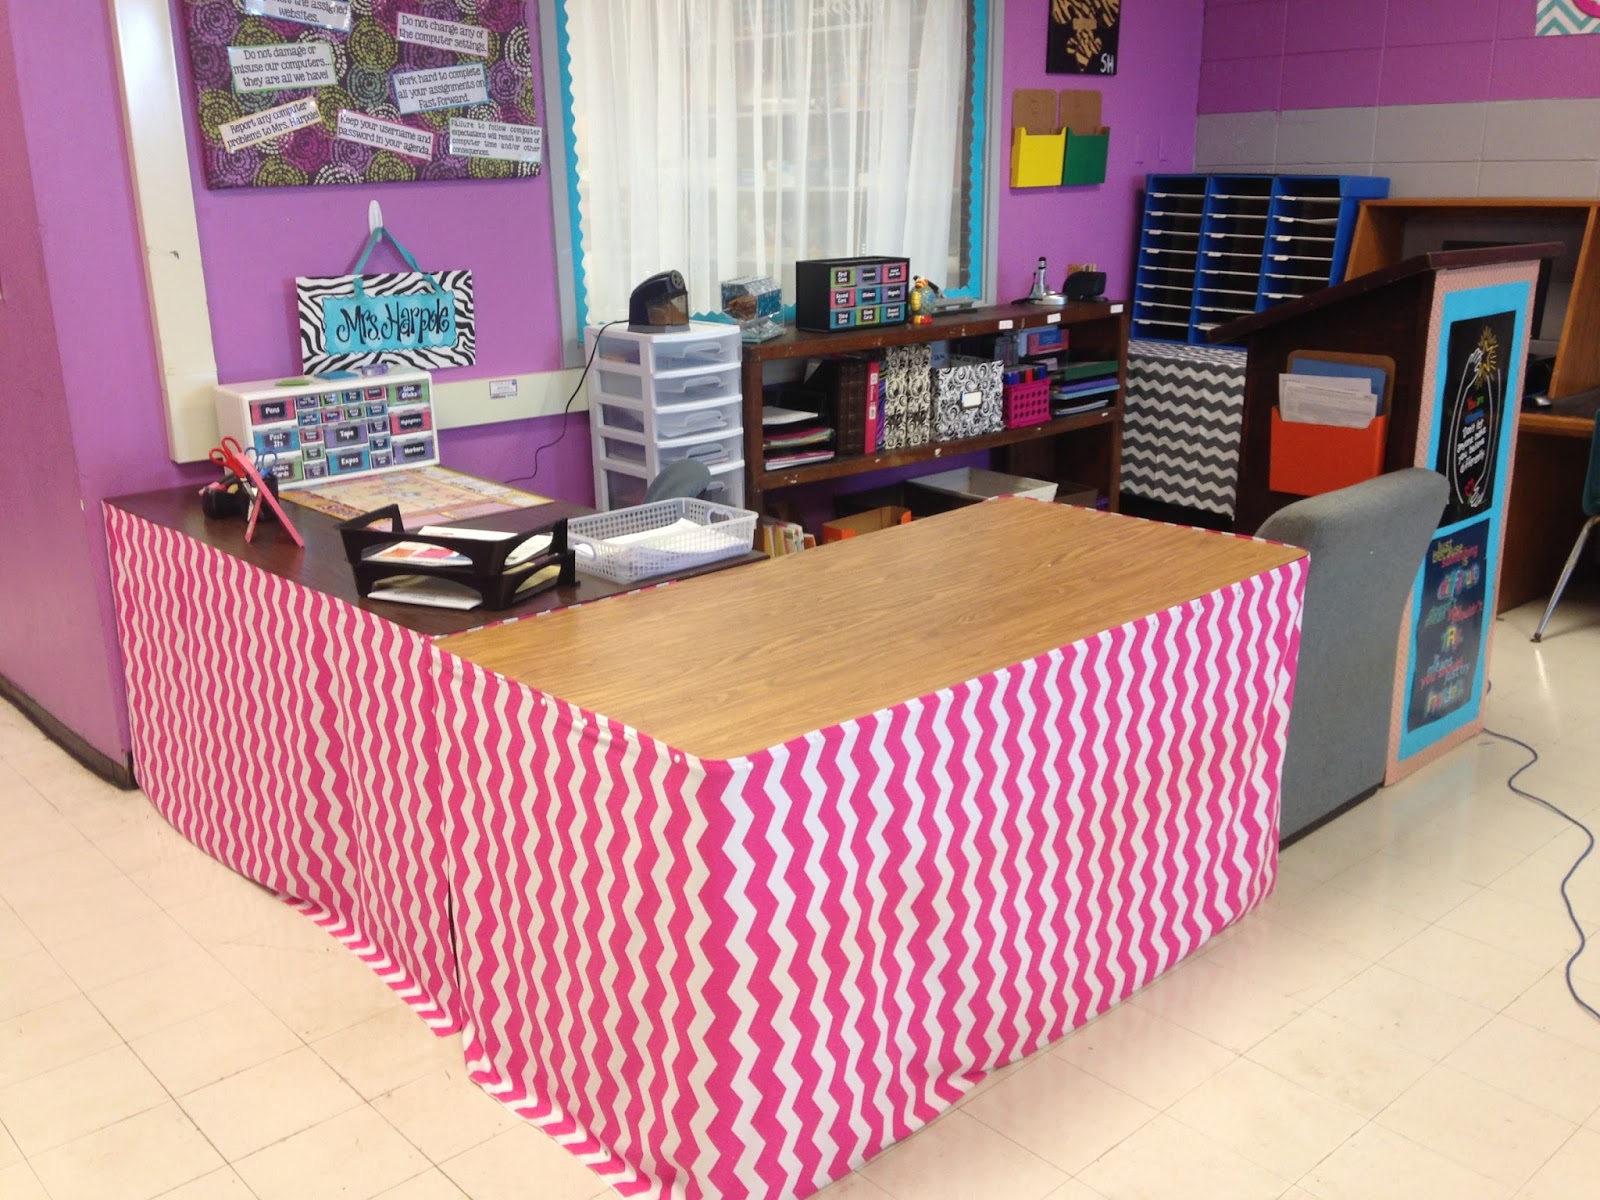
Next was getting my teacher space organized. Trying to organize my things and space was a very long and tiring process. It's crazy to think of the things that you accumulate in just a year. I used pink chevron fabric from Hobby Lobby to create a table skirt that went around my desk and side table. I love it! After getting this attached to my desk and table, it was on to getting rid of the clutter and going into super organized mode.
 |
| Before the de-cluttering process :( |
 |
| After the de-cluttering process :) |
 |
| I don't know what I would do without my teacher toolbox and calendar from School Aids! |
 |
| This just might be the most organized this bookshelf has ever been...I'm hoping it stays this way. |
I also repurposed an old teacher toolbox and updated it to match the theme of my big toolbox. This toolbox will contain classroom management rewards like my student punch cards, stickers, student shout outs and more.If you want punch cards for your students,
click here to check them out!
 |
| Here's a sample of my positive behavior punch cards! |
 |
| This thing needs a little excitement added! |
 |
| Much, much BETTER! |
The final beast I had to tackle in my classroom was my office. It sometimes reminds me of Ariel's cave from The Little Mermaid because there is no telling what you will find in there...especially as the year progresses. Seriously, it was so bad that I didn't even take a before picture! At least you get to see the finished, amazingly organized office! :)
 |
| I moved my filing cabinet into my office because it was just taking up space in my classroom. |
 |
| You can actually see the top of the desk :) |
 |
| If you look real hard, you can see that my shelves slightly resemble a shelf in Walmart...I may have gone a little overboard :) |
Here are just a few more peeks to see from around my classroom.
 |
| I created this memo board to display computer expectations in my classroom. |
 |
| This is a perfect example of my OCD. My construction paper is sorted and labeled by color. |
 |
| A poster that I created on Vistaprint that I will be using on the first day of school |
 |
| Seriously the best way to display learning targets. It makes so much sense for the kids. Thanks Pinterest! :) |
 |
| Another way to promote positivity in my classroom by allowing the students to give each other shout outs. You can buy this product in my store if you click here! |
 |
| I won these books as part of a grant from First Book. I have enough copies to give each of my students! |
Last, but not least I have to show you the awesome Common Core planning product that I bought from
Study All Knight. She has this flip chart available for all ELA grade levels. You should go check it out!
I hope y'all like the finished product as much as I do. Like I said earlier, it was a very long process and I wanted to give up so many times, but I am so glad that I pushed through. Now the real test begins. I'm really hoping that once school begins in two days that I can continue blogging regularly and sharing what happens in my classroom.


I love all of your chevron and how bright it all is! You should link up with the Back to School classroom setup linky party on my blog!
ReplyDeleteJana
Downthehallinthird.blogspot.com
Thank you, Jana! I just linked up. By the way, I LOVE the quotes you have on your walls. Now that is a super cute idea!
DeleteStephanie
This is amazing! I love the positive affirmations about your kiddos that you have posted everywhere.
ReplyDeleteWell done!
Thank you so much. I definitely wanted my classroom to ooze positivity! I'm hoping my kids loves it as much as I do! :)
DeleteStephanie
I cannot begin to tell you how freakin jealous I am of all your space! If you saw what I had to deal with, you would have a coronary. I teach in an open plan school but somehow I have a wall. NO STORAGE, no office, no nothing! I would love to have your classroom and you have made it look FANTASTIC! I hope you have a wonderful year!
ReplyDeleteSidney
Teachingisagift
I don't even want to think about being in another classroom space. It makes me panic to think about ever having to switch classrooms. My room is by far one of the biggest on our campus because it's a part of the old band room. This has been my only classroom and I've been in it for the last six years. I have no clue where I would put half of my stuff if I had to move into a smaller room. Without my office, I would have zero storage options in my classroom too.
DeleteThank you for your kinds words. I really appreciate it! I hope you have an AWESOME year too!
Stephanie
This looks like a really exciting classroom! We use similar self assessment routines that we use. Every Friday morning we reflect on what we have learnt that week. We use "Proficient" instead of "practitioner" instead too as it lines up with our national testing levels.
ReplyDeleteThanks for sharing!!
Erin
The E-Z Class
Follow us on Bloglovin!
Thank you so much, Erin! That's a great idea to use proficient instead of practitioner.
DeleteYou have some really terrific ideas! I love the colors and organization! Thanks for sharing!
ReplyDeleteCarol
Thank you, Carol! I really appreciate your kind words. Thanks for stopping by! :)
DeleteI would love to know how to make an awesome banner similar to yours!
ReplyDeleteMelissa
Hi Melissa! I created my banners in Keynote on my Macbook. I used clipart and backgrounds that I have bought from Etsy to decorate them. Once everything was in place and created in Keynote, I would export the file to a PNG Image File and upload it to Vistaprint. It is a little tricky at first, but super fun and easy. My suggestion would be just to play around with different designs until you are happy with what you've got. That's what I did.
DeleteLove your room! Hopefully, I will have mine finished by this Friday! Our kids don't come until the 26th!
ReplyDeleteThank you! Good idea to have it finished early. I tried to do that this summer, but it didn't happen. Enjoy the rest of your summer vacation! :)
DeleteStephanie
Hi! Everything looks beautiful and amazingly organized! I was wondering where you bought the smaller toolbox and the organizer you used for your paper?!
ReplyDeleteThank you, Bethany! I got both of my teacher toolboxes at Lowe's in the hardware section. The organizer for my paper came from The Calloway House. Here's the link > http://www.callowayhouse.com/corrugated-1-1-1?categoryid=137&pagesize=96
DeleteStephanie
Thanks so much!
DeleteI love your creativity! I can't wait to use some of your ideas in my classroom this upcoming year. After teaching 17+years, I still learn something new every year. Have a great year!
ReplyDeleteAww! Thank you so much, Mary! I truly appreciate your kind words! I hope you have a great year too!
DeleteStephanie
Your hard work really did pay off Stephanie! :) It looks fabulous! I think one of my favorite ideas you posted was the turn in assessment baskets - genius!! I can't wait to do that with my kids this year. Thanks for sharing and I hope you keep blogging throughout the yr! ~Shannon
ReplyDeleteThank you, Shannon! The assessment baskets have been a game changer in my classroom. It really worked wonders to have my students start thinking about how much they understood what we did that day in class. I would also have them justify their ratings on a post it note or self assessment slip.
DeleteStephanie
Stephanie,
ReplyDeleteI'd love for you to post your "Things You Should Know" poster on TPT. I would definitely put that up in my classroom. Thank you for all of your great ideas!
Hi Stephanie, how did you attach the material to the tables? I couldn't figure out the best way last year so it never ended up getting done. Thanks
ReplyDeleteHi Sara,
DeleteThat is definitely a tricky part. Two years ago, I used heat infused strips to attach my fabric. You stuck one side of the stripe to the table and then ironed the fabric over the strip and it formed an adhesive bond. It worked really great, but I couldn't find the strips again last year. I ended up using upholstery nails to attach the fabric last year. You can easily hammer them into the side of your tables. It's a bit time consuming, but the results are amazing. I have not had one issue with a nail coming out or the material coming off the table.
Stephanie
I looked for the teacher toolbox on School Aids and can't find it! Can you help?!?
ReplyDelete